How to Organize Dance Costumes for Competition Weekend
The costume is packed. But is the hairpiece with it? Which tights go with that routine? And are those the shoes for jazz or the ones your dancer outgrew?
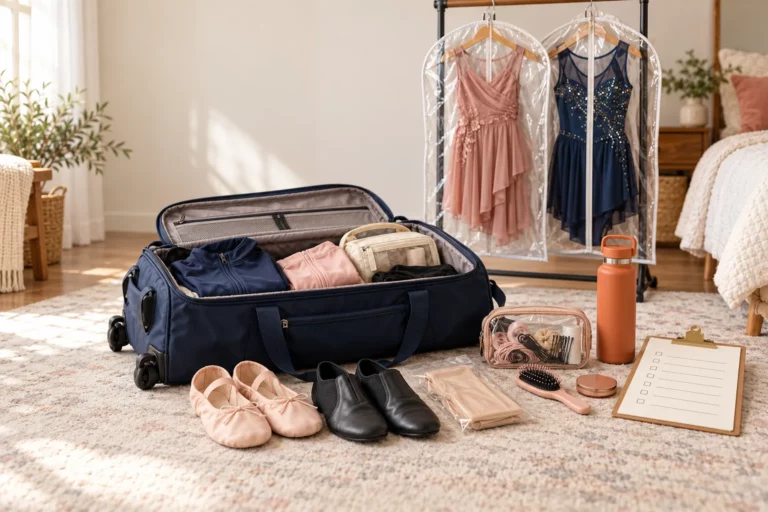
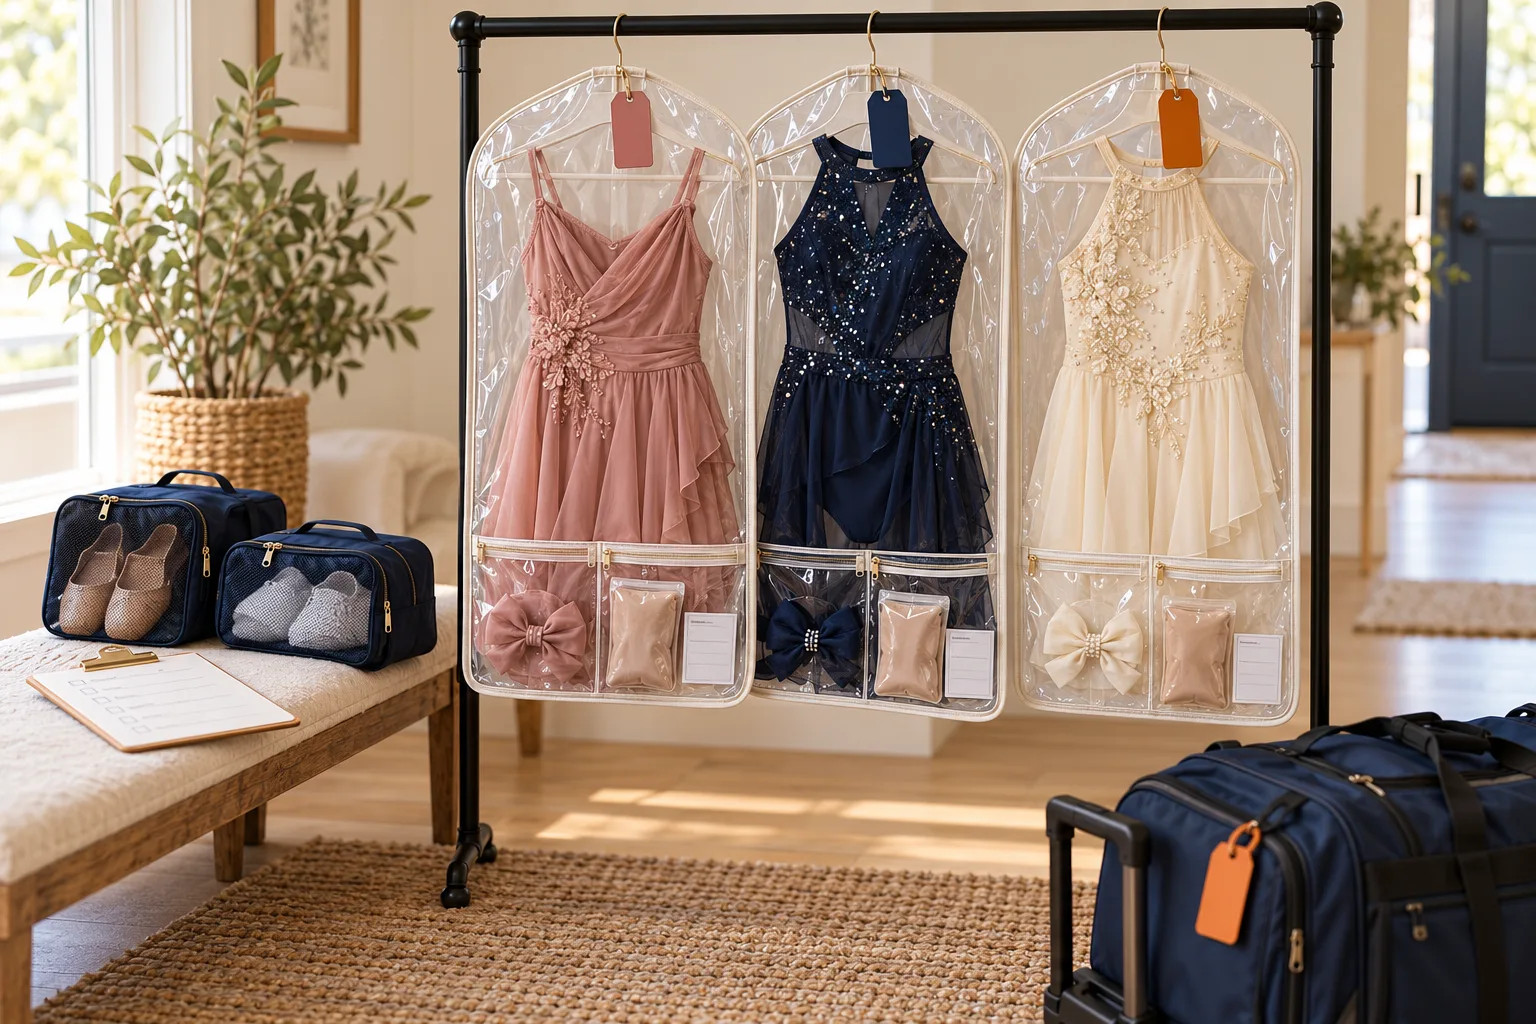
Dance costume organization works best when you pack complete routines together.
Give each costume a home, keep its accessories attached to that system, and use one simple list to track anything shared between routines.
Here’s how to set it up without buying an entire new luggage collection.
As an Amazon Associate, I earn from qualifying purchases. If you purchase through qualifying links, I may earn a commission at no extra cost to you.
The Simple System: One Routine, One Complete Set
For each routine, organize:
- Main costume
- Separate costume pieces
- Hairpiece
- Required accessories
- Tights and undergarment requirements
- Shoes, or a clear note identifying the shared pair
Keep the costume and its accessories in one garment bag where practical. Store shoes separately so they don’t dirty or snag the fabric.
If an item is shared between routines, record that rather than expecting it to be in two places at once.
1. Make a Costume List Before Packing
Start with your studio’s current instructions.
Create one row for each routine:
| Routine | Costume pieces | Hairpiece | Tights | Shoes | Shared items |
|---|---|---|---|---|---|
| Jazz group | Leotard, skirt, belt | Bow | Studio-required pair | Black jazz shoes | Jazz shoes also used for solo |
| Lyrical solo | Dress | Floral clip | Studio-required pair | As instructed | None |
| Tap group | Top, shorts, suspenders | Hat | As instructed | Tap shoes | None |
These are examples. Use your dancer’s actual requirements, including exact colours and styles.
Add routine numbers once the final schedule is available. Keep the routine name as the main identifier so your system still works if numbers change.
Helpful detail: Note accessories that are easy to overlook, such as gloves, socks, removable straps or a separate collar.
2. Check Each Costume as a Complete Outfit
Lay out one routine at a time before putting it away.
Check:
- All pieces are present
- Fastenings are secure
- Required alterations are complete
- Hairpieces have the approved attachment method
- Tights and shoes match the instructions
- Nothing needs your teacher’s attention
Ask your studio before changing a costume’s fit or making a visible repair.
Once the outfit is checked, pack it before starting the next one. This helps prevent one costume’s accessories from migrating into another pile.
3. Choose Garment Bags That Fit the Costumes
A garment bag should fit the costume without crushing its shape or catching decorations in the zipper.
Look for:
- Enough length for the costume
- Suitable width and depth for fuller pieces
- A smooth, accessible zipper
- An identification pocket or place for a tag
- Accessory pockets, if useful
Amazon option: KEEGH 40-inch dance costume garment bag. The listing includes three zipper pockets, making it an option to compare for keeping small pieces with a costume. Check the selected version and dimensions before ordering.
You can also use a plain garment bag you already own and add a separate accessory pouch.
Structured costumes and tutus may need a different storage method. Follow your studio’s guidance rather than squeezing everything into the same type of bag.
4. Give Every Bag a Clear Label
Use a label that someone else can understand without asking you.
Include:
- Dancer’s name
- Routine name
- Routine number, when confirmed
- A short accessory checklist
- A note about shared shoes or other items
For example:
Dancer: Alex
Routine: Jazz Group — “Spotlight”
Inside: Leotard, skirt, belt, bow
Shoes: Black jazz shoes in shoe pouch
Shared: Same shoes as jazz solo
Use removable inserts for information that changes between events.
Amazon option: Self-laminating luggage tags with loops are one way to attach a routine card to a hanger or bag.
A handwritten card in an existing ID pocket works too. You don’t need a label printer to be organized.
Free Printable: Routine Hanger Cards
Skip the handwritten index cards. Print these routine hanger cards, four to a page, fill in the dancer, routine and performance number, then tick off every piece packed with that costume. Punch the marked circle or use a clip to attach each card to its hanger.
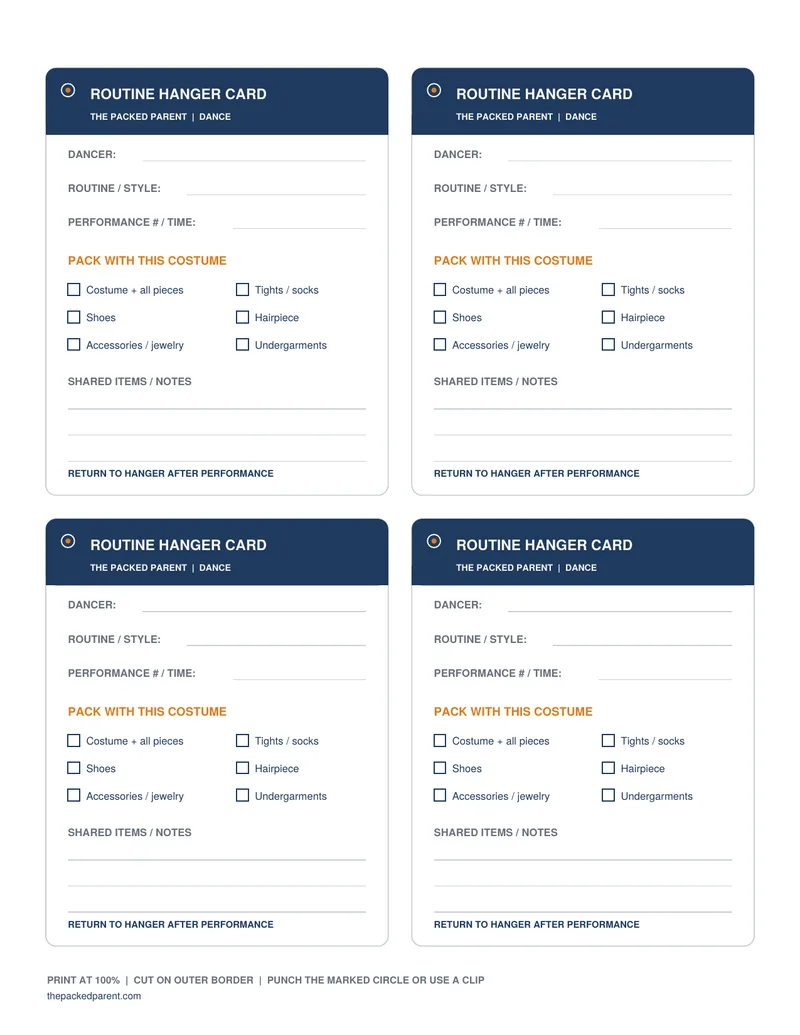
Download the Routine Hanger Cards (PDF)
5. Keep Small Accessories Contained
Hair bows, gloves and belts are easy to lose when they travel loose.
Use a small zippered pouch or the garment bag’s accessory pockets. Give each routine’s accessories their own space.
Keep sharp clips, jewellery and rough fastenings away from tights and delicate fabric. Protect pieces that could bend or crush.
Colour coding can help, especially with siblings, but pair it with words. “The pink tag” is less useful when several people have pink tags.
Packing tip: Photograph the complete outfit laid out before packing. Save the image in a clearly named album for reference. Keep changing-room photos out of the process.
6. Organize Shoes Separately—and Track Shared Pairs
Put shoes in labelled pouches or a separate compartment.
Check the actual pair before packing:
- Correct style and colour
- Correct size
- Both shoes present
- Straps, buckles and laces in good condition
- Dancer’s identification in a discreet location
When shoes are shared between routines, keep them in one consistent place.
Write “shared jazz shoes” on both routine cards rather than moving the pair between garment bags and hoping everyone remembers where they went.
The same approach works for shared undergarments, jewellery or hair accessories.
7. Arrange Costumes in Performance Order
Once the schedule is confirmed, arrange costumes in the order your dancer needs them.
If you’re using a rack, choose a consistent direction—first routine on the left, for example—and tell anyone helping.
Keep later-day or next-day costumes protected until they’re needed.
For a multi-day event, group by day first, then by performance order. You can use divider cards or simple hanger tags.
Check the rack’s load limit and keep the setup within your allocated space.
8. Plan Quick Changes Before the Event
A short gap between routines needs more than tidy packing.
Ask your teacher:
- Whether the gap counts as a quick change
- Who will help
- Where the change will happen
- Which costume pieces should be ready
- Whether hair, tights or shoes also change
Make a short change card:
| Remove | Put on | Keep |
|---|---|---|
| Jazz costume and bow | Lyrical dress and clip | Items your teacher confirms can stay |
| Jazz shoes | Required lyrical footwear | Approved base hairstyle, if unchanged |
Use the exact instructions for your dancer. Don’t assume layers or accessories can stay on.
Have the next outfit accessible and pack the removed costume promptly afterward. Follow dressing-area privacy rules throughout.
9. Reset After Every Routine
The most useful habit is putting everything back before starting something else.
After your dancer changes:
- Return the costume to its appropriate hanger.
- Count separate pieces.
- Put accessories into their labelled pocket or pouch.
- Return shoes to their usual place.
- Note anything missing, damaged or needing attention.
If a costume is damp, let it dry appropriately before closing it away for storage. Keep it supervised and follow its care instructions.
Avoid creating one large “worn costumes” pile. By the end of the day, that pile will contain one glove, three mysteries and your remaining patience.
10. Keep Food, Liquids and Repair Supplies Separate
Costumes don’t need to share a compartment with lunch or an unsecured bottle of makeup remover.
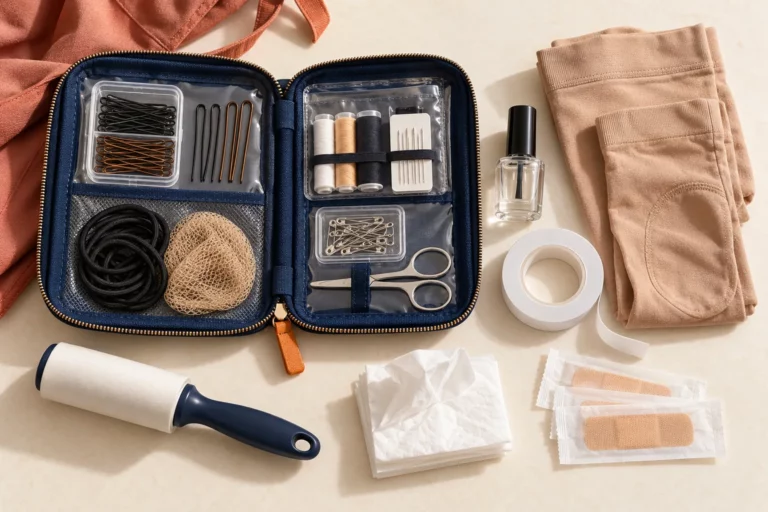
Use separate sections for:
- Food and drinks
- Hair and makeup products
- Costume repair supplies
- Used everyday clothing
Keep liquids securely closed and contained. Store pins, needles and scissors safely so they can’t damage costumes or injure someone reaching into the bag.
If you bring a steamer, follow costume care instructions and your studio’s guidance. Don’t assume embellished fabrics or glued decorations can be steamed.
Organizing Costumes for More Than One Dancer
Give each dancer their own identifying colour or clearly marked group of bags.
Keep one combined schedule for the adults, but separate costume checklists for each dancer.
Pay particular attention to:
- Similar-looking shoes in different sizes
- Matching hairpieces
- Shared makeup supplies
- Overlapping performance times
- Who is helping each child
If two dancers need the same shared item at nearly the same time, resolve that before leaving home.
What Do You Actually Need to Buy?
Start with the system, then fill the gaps.
| Item | Use what you own | Buy only if needed |
|---|---|---|
| Garment storage | Existing garment bags | Better-fitting bags or pocketed versions |
| Labels | Handwritten cards | Reusable tags or label holders |
| Accessories | Small zippered pouches | Protective containers for fragile pieces |
| Shoes | Washable bags or existing pouches | Dedicated shoe organizers |
| Schedule | Printed page or phone note | No special product required |
| Transport | Existing luggage | Rack bag if your current setup is difficult |
The goal is being able to find a complete outfit quickly. Matching organizers are optional.
Your Night-Before Costume Check
- Latest schedule saved
- Every routine listed
- Costumes checked against studio instructions
- Separate pieces counted
- Accessories secured
- Correct tights packed, with backups
- Correct shoes checked
- Shared items recorded
- Garment bags labelled
- Costumes arranged by day and performance order
- Quick-change plan confirmed
- First outfit easy to reach
After Competition Weekend
Before storing everything:
- Count each costume’s pieces.
- Follow the care instructions.
- Let items dry fully before closing them away.
- Flag repairs for your teacher.
- Replace used backup supplies.
- Update labels for the next event.
Leave the accessory system together so you can check it again next time.
More Dance Parent Guides
- Best Rolling Dance Bags with Garment Racks: 6 Options Compared
- Dance Competition Packing List: The Checklist I Use
- Dance Competition Emergency Kit: What Every Dance Mom Needs
Find every dance guide in one place on our Dance Parent Hub.
Dance Costume Organization FAQs
Should each costume have its own garment bag?
Where practical, one routine per bag makes checking and changing easier. Bulky or structured pieces may need separate storage. Label everything that belongs together.
Can I put shoes inside the garment bag?
Keep shoes contained and away from delicate fabrics. A separate shoe pouch or luggage compartment is usually easier to manage without adding weight to the hanger.
Should I label the costume itself?
Ask your studio where identification is permitted. Use a discreet method that won’t show onstage or damage the material.
What if routine numbers change?
Keep the routine name on the main label and update the number on a removable card. Recheck the performance order after schedule updates.
What’s the easiest way to avoid losing hairpieces?
Give each one a labelled pocket or pouch, then return it immediately after the routine. Include it in the final piece count before leaving.
Make Complete Outfits Easy to Find
Organize by routine, label the small pieces and give shared items a consistent home.
Then reset after each performance.
When the next costume change arrives, you’ll have a complete outfit ready—and a much better answer to “Where’s my hairpiece?”