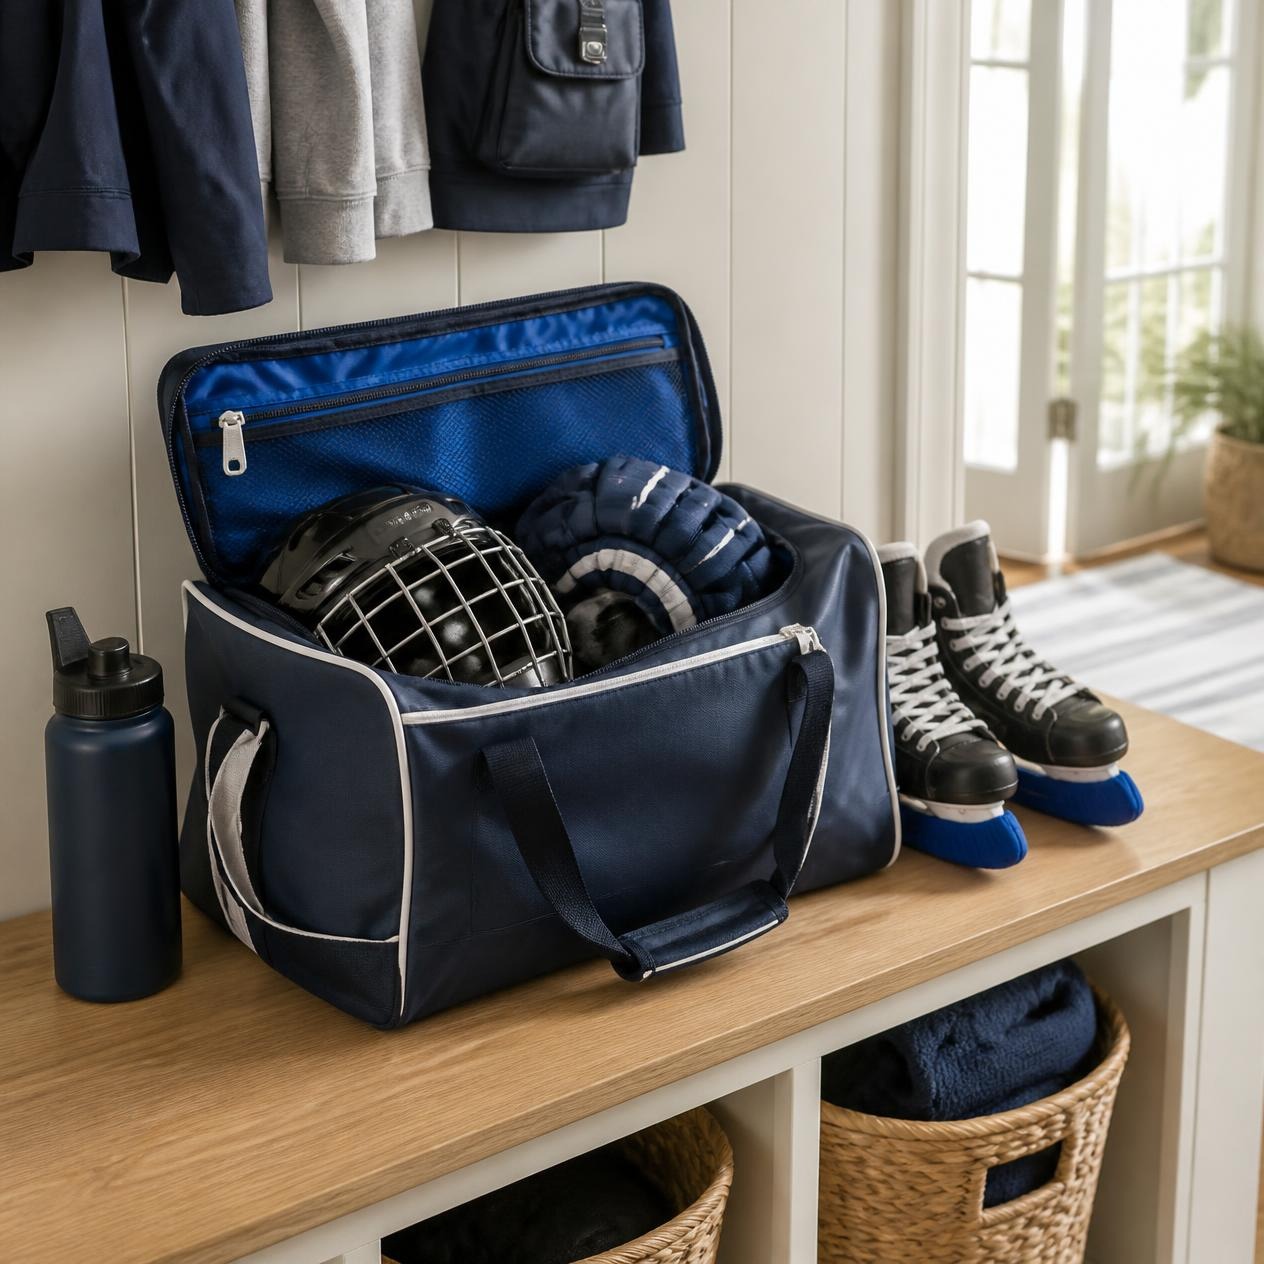
First Year Hockey Parent Guide: What You Actually Need
Your child is signed up, the schedule is in your inbox, and as a new hockey parent you’re suddenly wondering what a jock is, why the bag is so big and how anyone gets out the door on time.
Take a breath. You don’t need to buy everything before the first practice. Start with what your program requires, add a few practical basics and let the extras wait until you know what your family actually uses.
Learning to pack the bag should not require its own coaching certification. This guide will help you sort out what you need now, what can wait and what to ask the team.
This post contains affiliate links. If you purchase through these links, I may earn a commission at no extra cost to you.
Start Here: Ask Your Team Before You Shop
Equipment requirements can vary by age, program and association, so the team’s list comes first. Before you shop, ask:
- What equipment is required for my child’s age group and program?
- Are jerseys and socks supplied, or do we buy them?
- Is there a rental, loan or equipment swap program?
- How early should players arrive before the ice time?
- How do dressing rooms work, and can a parent help with skates or tying up?
- Where do families usually get skates sharpened?
- How will the team share schedules and updates (an app, email or group chat)?
Many associations also list financial assistance options. In Alberta, for example, Hockey Alberta points families to programs that help with registration and equipment costs.
First-Year Hockey Checklist
Download the free printable checklist below, or use the lists in this section as your guide. The first group is required equipment, so confirm it against your program’s list. Everything else is a recommendation.
Required Playing Equipment (Confirm With Your Program)
- CSA-certified helmet with a CSA-certified full face mask (cage)
- BNQ-certified throat protector (neck guard)
- Shoulder pads
- Elbow pads
- Hockey gloves
- Hockey pants
- Jock or jill (protective cup)
- Shin guards
- Hockey socks and a jersey (if not supplied)
- Skates
- Hockey stick
- Mouthguard, if your program requires one
Practical Bag Essentials
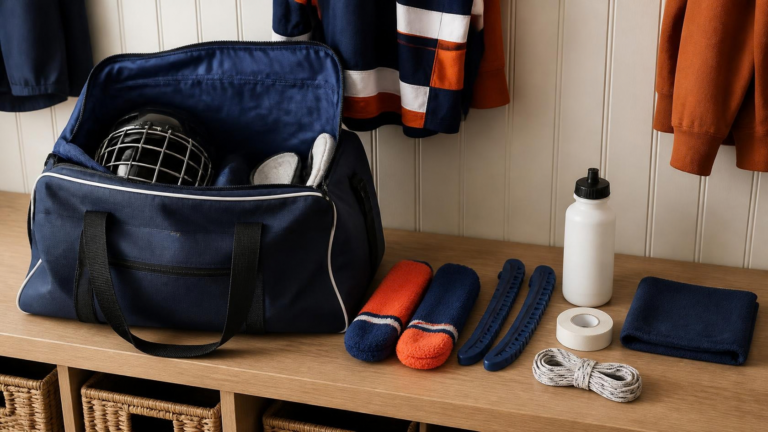
- Hockey bag
- Skate guards for walking
- Soakers for storage
- Labelled water bottle
- Equipment labels or a permanent marker
- Small towel for drying blades
- Hockey tape, if your coach asks for it
Useful Items for the Parent
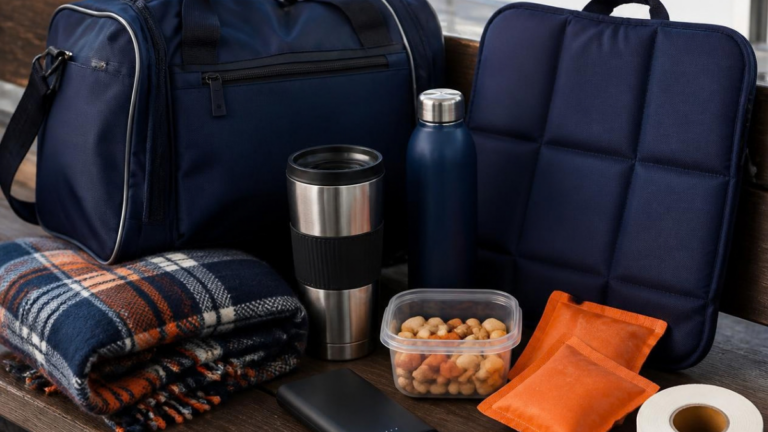
- Warm layers and comfortable footwear
- Seat cushion or blanket, if your rink is cold
- Charged phone with the team app or schedule
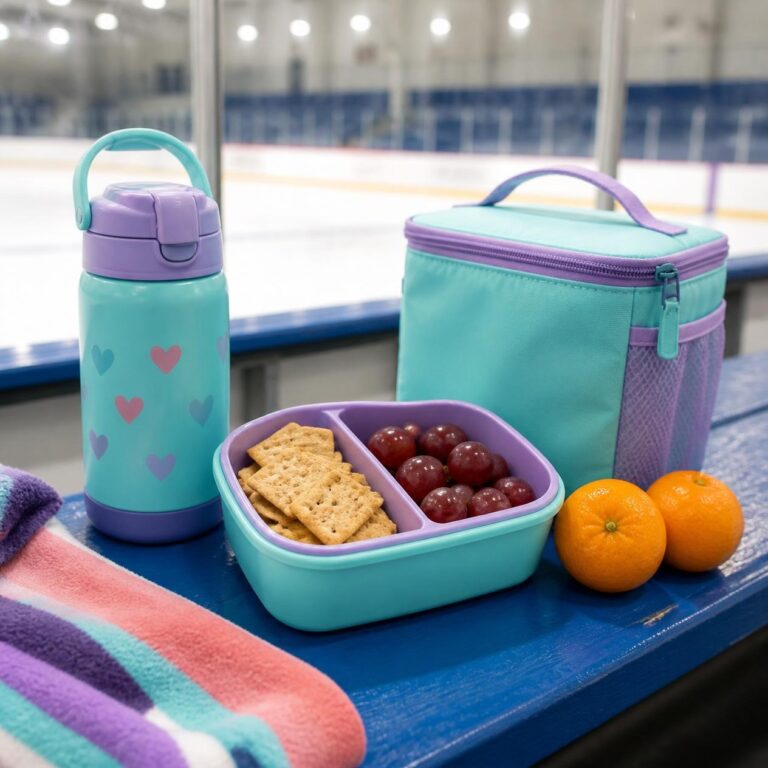
- Small snack plan for after practice
Optional Upgrades That Can Wait
- Premium or wheeled bag
- Bag organizers and extra pouches
- Heated accessories
- Bag tag
- Gear-drying rack
A Quick Look at Playing Equipment
Hockey equipment protects your child from head to toe, so fit matters more than brand or price. Hockey Canada is clear that equipment should never be bought to grow into, because gear that’s too big can slide away from the area it’s meant to protect.
A few points to keep in mind:
- Helmet and cage: Hockey Canada says the helmet and face mask must be CSA certified. Painting a helmet or removing the CSA sticker means it’s no longer certified.
- Throat protector: it must be BNQ certified and not altered in any way.
- Fit: Hockey Canada’s fitting guide, created with Bauer, walks through each piece. A local hockey store can also help with sizing.
- Used gear: it can be a great way to start, but check it for cracks, wear and fit before your child wears it.
In the end, your program’s list is the final word. When in doubt, ask the coach or association before you buy.
Practical Extras Worth Considering
Once the playing equipment is sorted, however, these basics make hockey life easier. None of them make a child ready to play on their own, but they help everything get to and from the rink in one piece.
| Item | Why it helps | What to check | Priority |
|---|---|---|---|
| Hockey bag | Keeps gear together and easier to carry | Size for your child, weight, ventilation, carry or wheels | Practical basic |
| Skate guards | Protect blades when walking off the ice | A snug fit and that they’re made for walking | Practical basic |
| Soakers | Absorb moisture during storage | Fabric covers for storage only, not walking | Practical basic |
| Water bottle | Keeps your player hydrated | Leak resistance, easy cleaning, works with their cage | Practical basic |
| Equipment labels | Help sort out look-alike gear | Durable material; never over certification stickers | Practical basic |
| Bag tag | Makes the bag easy to spot | Strong attachment; minimal personal details | Optional upgrade |
Hockey Bag
Choose a bag sized for your child’s gear, not the biggest one on the shelf. After all, a huge bag is heavy, hard for a young player to manage and easy to overstuff with damp equipment.
Look for a manageable weight, some ventilation and a style your child can handle. Carry bags are lighter and simpler. Wheeled bags help with heavier gear but add weight and cost.
Bag Tag
A bag tag makes it easier to spot your bag in a hallway full of identical black bags. Choose one with a durable attachment.
That said, keep the details minimal. A team name, initials or a phone number is usually enough. Avoid putting your child’s full name, your address or other unnecessary personal information on a public tag.
Skate Guards and Soakers
These look similar, but they do different jobs:
- Skate guards are hard covers for walking between the dressing room and the ice. They protect the blade edges from floors and concrete.
- Soakers are soft, absorbent covers for storage. They help pull moisture off the blades while the skates are in the bag. Most are not made for walking.
After skating, always wipe the blades dry. Skate guard maker CRS Cross advises against storing blades in guards and recommends wiping them dry and storing them in soakers instead. Bauer’s skate care guidance also recommends wiping blades dry, removing the footbed to air dry and loosening the laces.
In other words, not every blade cover is safe to walk in, so check the product description before buying.
Water Bottle
Look for a leak-resistant bottle that’s easy to clean and easy to identify. Check that your child can drink from it with their helmet and cage on, or easily between drills, and follow any guidance from the team.
Equipment Labels
Hockey gear looks remarkably alike in a busy dressing room. Labels help everyone go home with the right gloves.
Choose durable, waterproof labels and place them on smooth, visible surfaces. Never cover a helmet’s CSA sticker or other required markings, and avoid spots where a label could interfere with fit or function. Check what you already have at home, like a permanent marker or iron-on labels, before buying a dedicated kit.
What a New Hockey Parent Actually Needs
Think of these as hockey mom essentials, or hockey dad, grandparent and caregiver essentials. Either way, your setup can be simple and budget-friendly:
- Warm layers, since rinks can be cold, plus comfortable footwear
- A seat cushion or blanket if the stands are chilly
- A charged phone with the team schedule or app
- A small snack plan for after practice
If your rink feels like a freezer, our guide on how to stay warm at a cold hockey rink has more ideas.
Your First-Practice Routine
Before You Leave
- Check the bag against your team’s list
- Make sure skate guards are on
- Fill the water bottle
- Confirm the arrival time and rink address
At the Rink
- Arrive when the team asks
- Follow dressing-room instructions
- Help with skates or laces if needed
- Keep the bag zipped and organized
After Practice
- Wipe the blades dry and put on soakers
- Unpack and hang equipment to dry at home
- Wash base layers and socks
- Note when the skates may need sharpening
Hockey Canada recommends hanging all equipment to dry after every game or practice. For the full routine, see our guide on how to get the smell out of hockey gear.
What Can Wait
Premium bags, elaborate organizers, heated accessories and drying racks can all wait. Once you’ve been through a few weeks of practices, you’ll know whether you need more storage, more warmth or a better drying setup. If cold stands become a real issue, our heated stadium seat comparison can help when the time comes.
Common Beginner Mistakes
- Shopping before you get the equipment list. You may buy items you don’t need.
- Buying gear to grow into. Oversized equipment doesn’t protect properly.
- Assuming all blade covers are interchangeable. Guards and soakers do different jobs.
- Forgetting identification. Unlabelled gloves have a way of switching teams.
- Leaving damp gear zipped in the bag. It leads to odour and wear.
New Hockey Parent FAQ
What should we bring to the first practice?
All the equipment on your program’s required list, plus skate guards, a water bottle and a towel. Arrive at the time the team asks.
What size hockey bag should I buy?
One that fits your child’s gear with a little room to spare and that they can manage. Bigger isn’t automatically better.
How should I label hockey equipment?
Use durable labels on smooth, visible surfaces. Never cover helmet certification stickers or other required markings.
Do we need both skate guards and soakers?
Usually, yes. Guards are for walking and soakers are for storage. Check each product’s description for its intended use.
Does everything need to be new?
No. Used gear and swap programs can be a good starting point, as long as the equipment fits, is in good condition and meets your program’s certification requirements.
The Bottom Line
As a new hockey parent, your first season is about being prepared, not owning every accessory. Start with your team’s list, focus on fit and safety, and add the extras as you learn what your family needs.
Save or pin this first-year hockey checklist so it’s ready for the first practice. And when tournament season arrives, our hockey tournament packing list will be waiting.
More for hockey parents → Hockey Parent Hub
Sources
- Hockey Canada – Parents: Ensure Your Player Wears Safe Equipment
- Hockey Canada – Player Equipment Fitting Guide (PDF)
- Hockey Alberta – New Hockey Parents
- Minor Hockey Alliance of Ontario – Proper Fit and Use of Protective Equipment
- CRS Cross – Can I store my skates in the guards?
- Bauer – Skate Care Basics