How to Get the Smell Out of Hockey Gear (and Keep It Out)
You unzip the hockey bag to grab a water bottle, and the hockey gear smell reaches you before your hand does. You zip it back up. You consider moving.
If that smell has taken over your front hall, you’re in good company. The good news is that you don’t need a cupboard full of sprays to fix it. Odour control comes down to two things: cleaning each piece the way its manufacturer recommends, and letting everything dry completely before it goes back in the bag.
Here’s how to do both without turning your laundry room into a second job.
This post contains affiliate links. If you purchase through these links, I may earn a commission at no extra cost to you. As an Amazon Associate I earn from qualifying purchases.
Hockey Bag Smells? Start Here
If you need a quick fix tonight, do this:
- Empty the bag completely. Everything comes out, including the stray sock at the bottom.
- Separate the washable items. Base layers, socks, jerseys and any removable liners whose labels say they can be washed.
- Spread the rest of the equipment out. Open up skates, gloves and pants so air can reach the inside.
- Clean each item according to its care instructions. Check the label or the manufacturer’s website first.
- Let everything dry completely. Inside and out, before anything goes back in the bag.
That last step does a lot of the heavy lifting. Even freshly cleaned gear can start to smell again if it’s packed away damp.
What Causes Hockey Gear Smell?
Hockey equipment soaks up a lot of sweat. Foam padding and fabric liners hold that moisture against your player for an entire practice, and then the whole lot often gets zipped into a bag and left in the car or garage.
Odour-causing bacteria thrive in warm, damp, enclosed spaces. They break down sweat and produce that unmistakable hockey bag smell. The longer gear stays wet and closed up, the more time they have to work.
That’s why fragrance alone rarely solves the problem. If the gear isn’t cleaned and dried, a nice scent just sits on top of the smell for a while.
How to Clean Hockey Gear by Type
Start with one rule: check the care label or manufacturer’s instructions first. Hockey equipment is made from a mix of foam, plastic, fabric, leather and synthetic materials, and they don’t all handle cleaning the same way. Washing, soaking or tumble-drying the wrong item could damage it or affect how well it protects your player.
If there’s no label, look up the product on the manufacturer’s website or ask the store where you bought it.
Base Layers, Socks and Jerseys
These are usually the easiest items to clean, and some of the most important, because they sit closest to the skin.
- Wash them after every use, following the care label.
- Use the water temperature the label recommends. Hot water can shrink some fabrics.
- Check before using the dryer. Many base layers and hockey socks are meant to hang dry.
- If your player wears a jock or jill with a removable cup, take the cup out before washing.
Removable Liners and Padding
Some helmets, gloves, shin guards and pants have liners or pads that come out. Check whether those parts are washable and how. Remove them before cleaning, and let both the liner and the shell dry fully before putting them back together.
Helmets
- Wipe the inside and outside with a cloth dampened with mild soap and water.
- Clean the cage or visor and chin cup the same way.
- Wipe away any soap residue with a clean, damp cloth.
- Let the helmet air dry away from direct heat.
- Skip solvents, harsh chemicals and sprays unless the helmet manufacturer approves them.
The Ontario Minor Hockey Association recommends mild soap and water for hard goods like helmets, and cautions that some antibacterial sprays can damage equipment.
Skates
Bauer’s skate care basics recommend three simple steps after every skate:
- Wipe the blades dry.
- Remove the footbed and let it air dry.
- Loosen the laces and pull the tongue forward so the boot can air out.
Keep skates away from heaters, radiators and fireplaces unless the manufacturer says otherwise. Direct heat can affect boot materials.
Gloves
- Open the cuffs and spread the fingers so air can get inside.
- Air dry only. Never dry gloves over an open heat source.
- Check the manufacturer’s instructions before hand washing or machine washing.
Shoulder Pads, Elbow Pads, Shin Guards and Pants
- Hang them up or lay them flat to air dry after every use.
- For a deeper clean, many pads can be wiped or gently scrubbed with mild detergent and a soft brush.
- Check the label before soaking, machine washing or tumble-drying.
Some sports stores offer professional equipment cleaning, which can be worth considering for a deep clean once in a while.
Don’t Forget the Hockey Bag
Clean gear won’t stay fresh for long inside a smelly bag. Give the bag some attention, too:
- Empty it completely after every practice or game.
- Shake out or vacuum tape scraps, wrappers and other debris.
- Clean it according to its care instructions. Many bags can be wiped down with mild soap and water.
- Leave it unzipped and open until it’s fully dry.
Think of the bag as transport, not storage. Gear goes in on the way to the rink and comes out when you get home. The hockey bag should not become another member of the family. (Heading out for a weekend? Our hockey tournament packing list covers everything beyond the equipment.)
How to Keep the Smell From Coming Back
After Every Practice: The 10-Minute Routine
- Bring the bag inside. Don’t leave it in the trunk overnight.
- Unpack everything.
- Put base layers, socks and jerseys in the laundry.
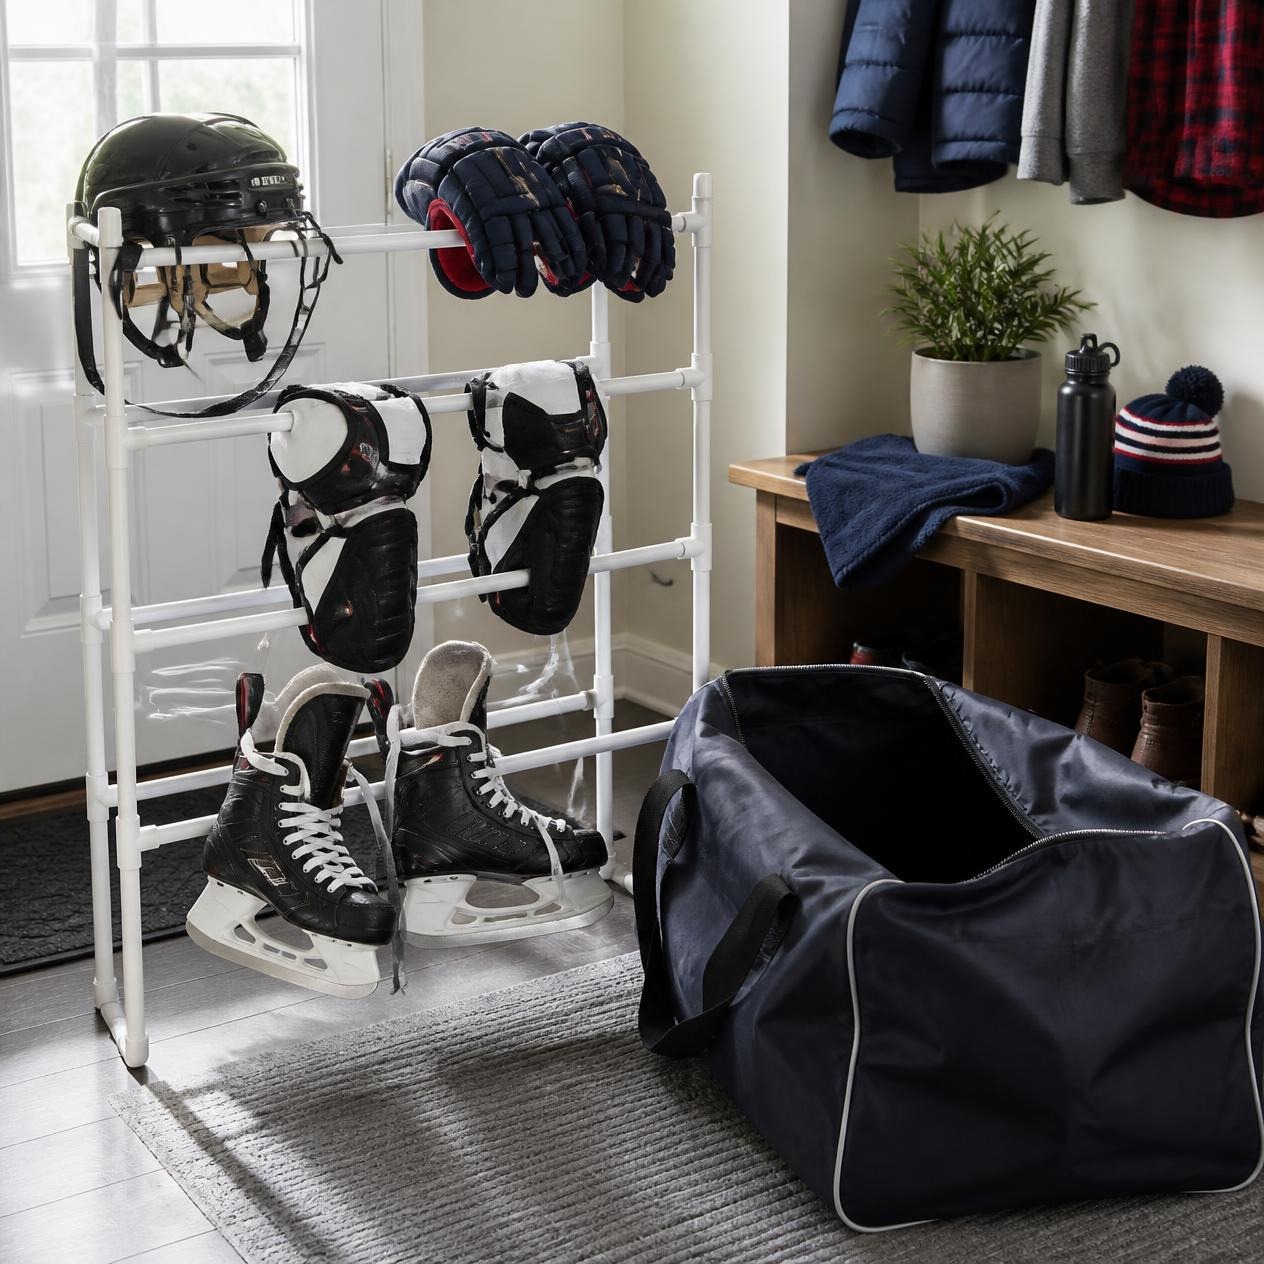
- Hang or spread out everything else, with skates and gloves opened up.
- Leave the bag unzipped to air out.
If your player is old enough, make this their job. It’s their gear, after all, and a routine they own is one you don’t have to nag about.
A Realistic Regular Routine
- Wipe down the helmet and other hard surfaces.
- Wash removable liners following their care labels.
- Make sure everything is fully dry before it’s packed.
- Do a deeper clean of pads and gloves on a schedule that fits how often your player is on the ice, following the manufacturer’s guidance.
Products That Can Make the Routine Easier
None of these are required. Good airflow and consistent drying do most of the work. But if space, time or a very busy hockey schedule is getting in the way, these categories can help. This isn’t a ranking of specific products, so compare options against what your family actually needs.
Drying Racks
The problem: Gear piled on the floor or draped over a chair doesn’t dry evenly.
A drying rack holds equipment upright and spread out so air can circulate. It can be especially helpful if you have more than one player or limited space.
What to check: whether it fits youth or adult gear, how sturdy it is with skates and pads, how much floor space it needs and whether it folds away.
Below are three options to compare: a budget-friendly rack, a single rack for one player’s gear, and a dual rack if you’re drying gear for two players.
Gear Deodorizers
The problem: Gear smells a bit stale between deeper cleanings.
A gear deodorizer can help freshen equipment, but it doesn’t replace cleaning and drying. Use it on clean, dry gear, not as a cover-up.
What to check: which materials it’s approved for, the directions for use and whether the product’s official information supports any antimicrobial claims. Don’t combine it with other cleaners.
Sport Detergent
The problem: Synthetic base layers and socks still smell after a regular wash.
Sport detergents are made for performance fabrics and can be a helpful option for the items that go through the laundry every week.
What to check: that it suits the fabrics on your care labels, works with your washing machine (including HE machines) and comes in a scent level you’re comfortable with.
Hockey Bag Fans and Gear Dryers
The problem: You don’t have space to spread everything out, or gear isn’t drying fully overnight.
A bag fan or gear dryer moves air through the equipment. It works best when gear has room for air to move. A fan in a stuffed, zipped bag won’t do much.
What to check: the power source (battery, USB or plug-in), whether it uses heat (and whether your gear’s manufacturer allows that), run time and the safety instructions for unattended use.
Quick Comparison: What Do You Actually Need?
| Product category | Best use | What to check | Essential or optional? |
|---|---|---|---|
| Spreading gear out with good airflow (free) | Drying everything after every practice or game | An indoor, well-ventilated spot away from direct heat | Essential |
| Drying rack | Keeping gear off the floor and spread out | Size, sturdiness and how much floor space it takes up | Optional |
| Sport detergent | Base layers, socks and jerseys | Care labels and your washing machine type | Optional |
| Gear deodorizer | Freshening gear between cleanings | Approved materials, directions and any label claims | Optional |
| Hockey bag fan or gear dryer | Extra airflow when drying space is tight | Power source, heat settings and safety instructions | Optional |
If you only do one thing, make it the free option: get everything out of the bag and give it room to dry.
Hockey Gear Smell FAQ
Can I put hockey equipment in the washing machine?
Some of it. Base layers, socks, jerseys and some removable liners are usually machine-washable, but check each label. Helmets, skates, gloves and protective pads often aren’t designed for machine washing or tumble-drying, so check the manufacturer’s instructions first.
Do deodorizing sprays get rid of hockey gear smell?
They can help freshen gear, but they don’t replace cleaning and drying. Check which materials a spray is approved for, follow its directions and don’t mix it with other cleaners.
How often should I clean hockey gear?
Wash base layers and socks after every use, and air out everything else after every practice or game. Deeper cleaning depends on how much ice time your player gets and what the manufacturer recommends.
Why does the gear still smell after cleaning?
Foam and padding can stay damp inside even when the outside feels dry, so give it more drying time. Check for liners you may have missed, clean the bag too, and repeat the cleaning following the care instructions. A professional equipment cleaning service is another option for gear that just won’t freshen up.
The Bottom Line
Getting rid of hockey gear smell isn’t about buying everything in the aisle. It’s a simple routine: unpack, wash what’s washable, clean the rest the way the manufacturer recommends, and let it all dry completely.
Do that most of the time, and your front hall may smell like a front hall again. Spending long weekends in the stands? Here’s how to stay warm at a cold hockey rink.
Save or pin this guide so it’s handy the next time you open the bag and regret it.